- Install the Awedesk plugin
Install and activate the plugin on your website (the same way as any other WordPress plugin).
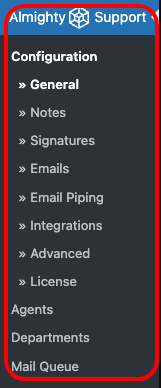
After that, you will see the following new items on your WP dashboard:

- Enter your license key.
After installing and activating the Awedesk plugin, you will see the following message:
“Please activate your license for Awedesk Pro!”. You can click this link, or go to WP-Admin > Awedesk > Configuration > License to enter the license key.
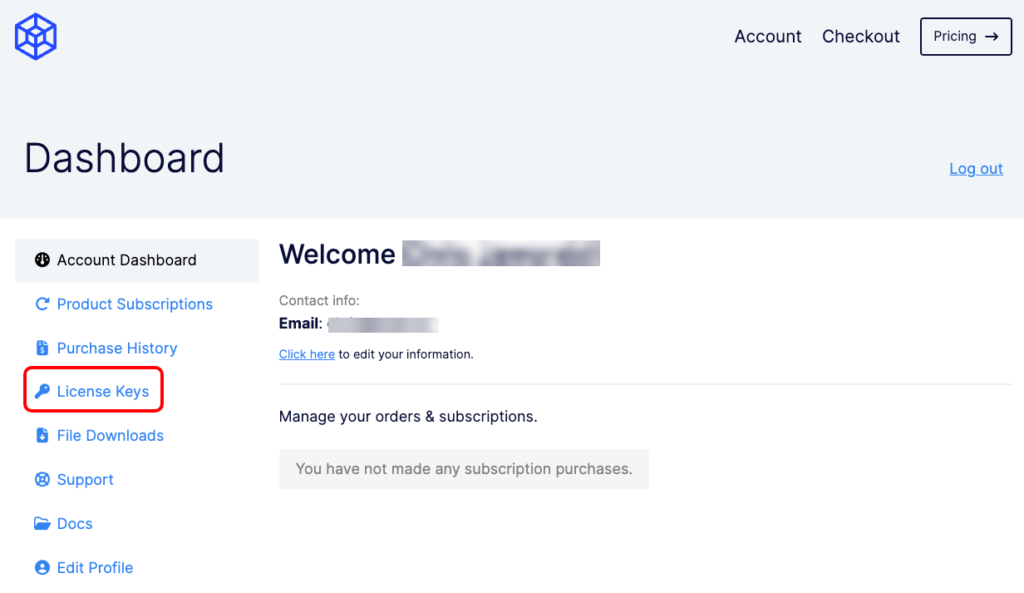
You can find the license key in your purchase confirmation, or on your account:

- Create a new page.
To view the support interface/ handle the tickets, you need to create a separate page for it. That page will be available to site owners/ admins and all site users. However, the admin and user interface/ view are different.
The basic option is to create just one page. To create that page, go to WP- Admin > Pages > Add New and apply the “awedesk” shortcode, or, choose the “Awedesk” block. You can call that page “Support” for example.
To make your new “Support” page available to users, you need to add it to your preferred location/ menu.
That’s just the basic option. If you would like to display the support page differently (e.g. with widgets for clients and without widgets for agents) you can create two, separate pages, one for the client and one for the agent, and call them “Support- Client” and “Support-Agent” for example.
Please watch this video tutorial on Support Pages:
Please also check out this video tutorial on initial setup: